


In the world of design, Figma has emerged as a powerful tool that allows designers to create stunning user interfaces, web designs, and prototypes. Whether you are a beginner or an experienced designer, implementing Best Practices in Figma can greatly enhance your productivity and streamline your design process.
In this article, we will explore a comprehensive set of Figma best practices that will help you maximize your productivity and create efficient designs.
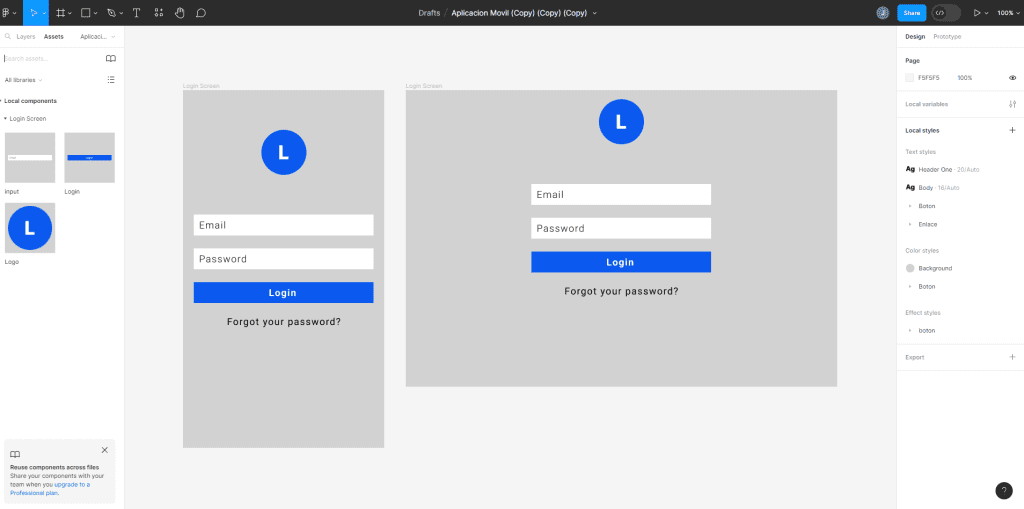
Creating base components is a fundamental practice that can significantly enhance your productivity in Figma. Base components allow you to make changes in one place and automatically propagate those changes to all instances of that component. This eliminates the need to manually update multiple instances of a component, saving you time and effort.
To create base components, start by identifying common elements that are used across your designs, such as buttons, inputs, or icons. Design a base component that contains all the essential elements and variations, including defaults, icons, hovering effects, and errors. By leveraging base components, you can easily modify and update these elements without the need for manual adjustments in every instance.
Pro Tip: Remember that base components can be used both on the same page and in the same framework, providing flexibility in your design workflow.

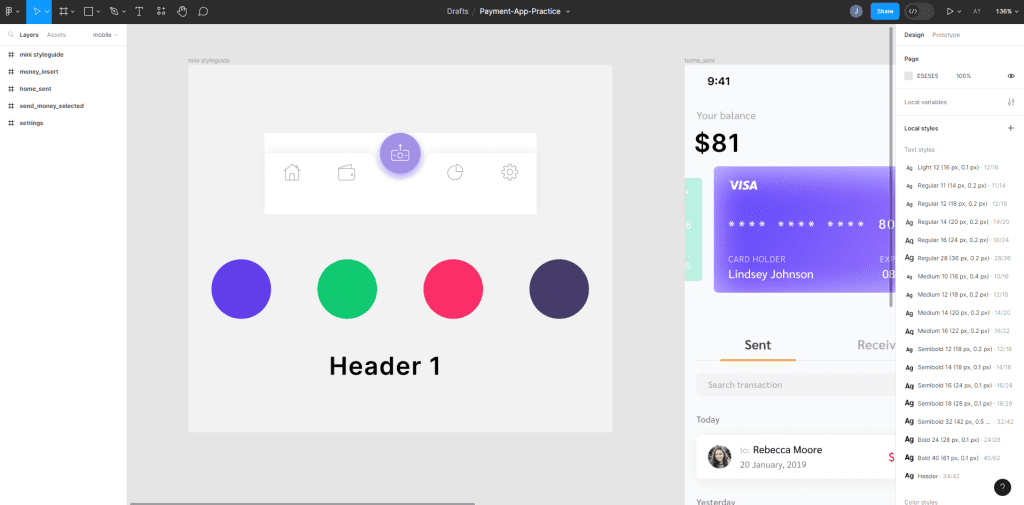
Consistency is key when it comes to design. Applying styles consistently throughout your designs not only improves visual coherence but also simplifies the design update process. In Figma, you can create text and color styles that can be easily applied to different elements.
Start by defining a color palette with descriptive names for each color. This allows you to quickly select and apply the appropriate color style to any element. Similarly, define text styles for different formats or tags, such as headings, paragraphs, links, and body text. By using consistent styles, you can make design updates more efficiently by simply modifying the styles, which will automatically update all elements using those styles.
Tip: Slash naming scheme can be used to categorize elements, such as “Primary Colors,” for better organization.

Frames are an essential feature in Figma that allows you to organize your designs in a structured and manageable way. Instead of using groups or rectangles, challenge yourself to use frames for almost everything. Frames provide more functionality and simplify your designs, making them easier to navigate and update.
Use frames to group related layers and components. This helps maintain a clear hierarchy and organization within your design files. By housing each icon vector or group inside a frame, you can ensure consistent sizing and spacing, making your designs more visually appealing.
Pro Tip: Frames can be used for layout grids, auto layouts, constraints, components, and styles, making them a versatile tool for efficient design organization.

Auto layout is a powerful feature in Figma that allows you to create responsive designs that adapt to different screen sizes. By using auto layout, you can save time on manual resizing and repositioning of elements, especially when dealing with dynamic content or variations in screen sizes.
Start by familiarizing yourself with the auto layout functionality in Figma. Use it to create responsive elements, such as buttons that adjust their size based on the text content. Auto layout can also be used to generate rows, add or delete material, and make your designs more responsive overall.
Tip: You can use auto layout to design every page, enabling quick alterations to spacing, and adding or deleting elements without the need for manual pixel adjustments.
Constraints are an essential feature in Figma that allows you to control how your designs respond to changes in frame size and adapt to different screen sizes and devices. By using constraints, you can ensure that your designs maintain their structure and adaptability across various contexts.
To leverage constraints effectively, instruct Figma on how items should respond when the frame is adjusted. For example, you can use constraints to keep elements centered, aligned to specific sides or corners, or expand and contract with the frame size. By utilizing constraints, you can reduce the need for manual adjustments and maintain consistency in your designs.
Tip: Hold down CMD or CTRL while adjusting the frame to ignore the constraints imposed on objects within the frame.
As a designer, one of the most crucial practices to adopt is the proper naming and organization of all your design assets. Giving clear names to each individual layer enhances the organization of your project, facilitating seamless navigation. This aspect becomes particularly significant when you’re passing on your work to another designer or a developer. Remember, these designated names will directly translate into the generated code.
Avoid allowing your layer panel to resemble the example below:

Instead, strive for a presentation akin to the following. Make it descriptive and readily comprehensible:


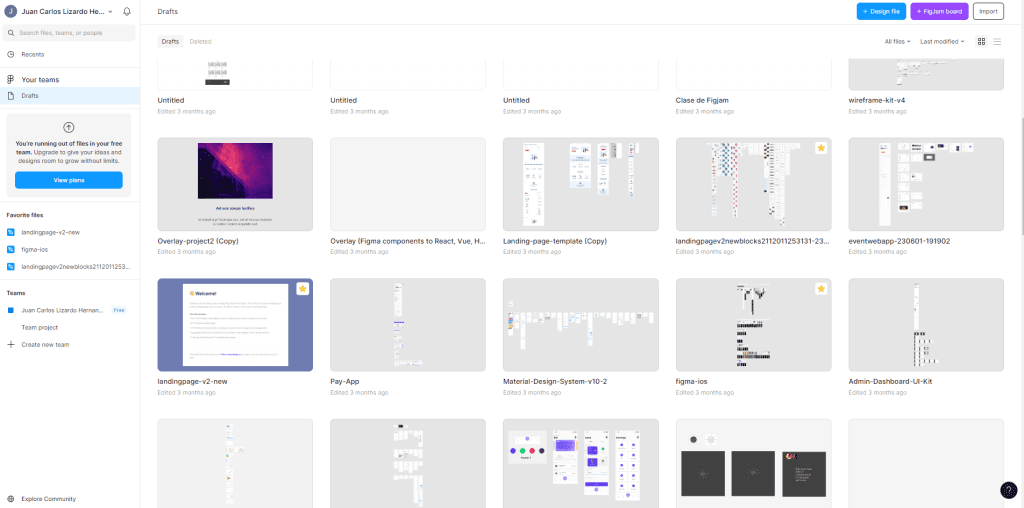
Maintaining a well-organized design file is essential for efficient collaboration and design management. Organize your design file in a way that allows for easy navigation and updates.
Consider separating pages and sections for designer use from elements intended for developers. Clearly indicate the status of each page, indicating which are ready for implementation and which are still being designed. Utilize page headers to group related elements, such as icons, colors, styles, and buttons.
Tip: Keeping important aspects of your design file separate from your work area makes updating elements and spotting inconsistencies a breeze.
Figma provides a seamless workflow for integrating your components into different frameworks or projects. By selecting the components you want to integrate, you can easily copy them from the original file and paste them into the desired location.
If the document is a library, any documents that use it will receive an update notifying you of any deprecated components. Simply review the modifications and navigate to the new framework to complete the integration process.
Note: Integrating components into different frameworks becomes a seamless process, allowing for efficient collaboration and easy updates.
Implementing best practices in Figma can significantly enhance productivity and streamline your design process. By using base components, applying styles consistently, leveraging frames and auto layout, utilizing constraints, creating component layouts, staying organized, previewing elements with outline mode, and integrating components seamlessly, you can create efficient and scalable designs.
Remember, Figma is a powerful tool that offers a variety of features to streamline your design process. By adopting these best practices and exploring the full potential of Figma, you can unlock your creativity and create stunning designs with ease.
Let Figma be your ally in the design journey, and embrace these best practices to elevate your productivity and efficiency to new heights.
Now, armed with these Figma best practices, you can confidently tackle your design projects and unleash your creativity in the most efficient and productive way possible. Happy designing!