


If you’re new to Figma and want to learn how to import images into your design files, you’ve come to the right place. Images play a crucial role in the design process, and understanding how to work with them effectively in Figma can greatly enhance your workflow. In this comprehensive guide, we will explore various techniques and tips for importing and manipulating images in Figma.
For obtaining high-resolution images, I would recommend utilizing websites such as Pexels or Unsplash. What distinguishes these platforms is their copyright-free image content.
Importing images in Figma is a straightforward process that can be done in a few different ways. Let’s explore the various methods:
To import images using the menu, follow these steps:
✅Step one: Click on the Figma logo in the top bar and select File.

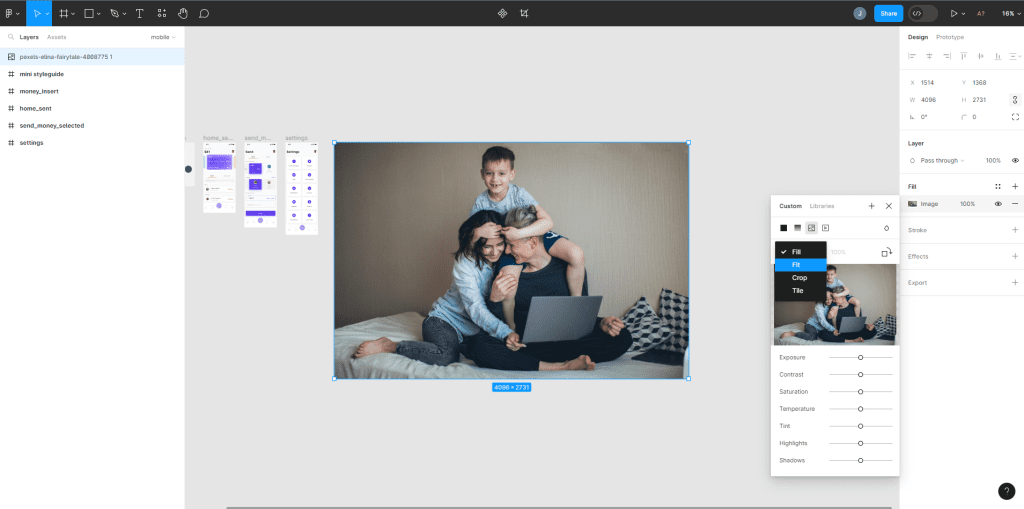
✅Step two: Choose Place Image from the dropdown menu.

✅Step three: A file browser will appear, allowing you to select multiple images.

✅Step four:Click or drag the images one-by-one onto the canvas to import them into your file.

The benefit of this method is that it gives you more control over the placement and size of the imported images. Additionally, you can use this method to add images to pre-existing shapes by treating them as fills.
Another way to import images is by using the drag and drop method:

This method is particularly useful when you need to import multiple images at once. It also allows you to take advantage of Figma’s Smart Selection features, where you can select all the imported images and adjust their spacing.
If you want to quickly import and explore multiple ideas without taking up hard drive space, you can use the copy and paste method:
✅Step one: Find an image you want to import in your browser.

✅Step two:Right-click on the image and select Copy Image.

✅Step three:Switch to Figma and paste the copied image into your file.

While this method only allows you to import one image at a time, it offers a convenient way to try out different ideas without the need for downloading and saving images to your computer.
Once you have imported images into Figma, you can easily manipulate them to fit your design needs. Figma provides several options for editing and customizing images:
By default, Figma treats images as fills for shapes. You can adjust the fill settings to control how the image appears within the shape. Here are the different fill options available:
These fill settings give you flexibility in how you display and position your images within shapes.
If you need to quickly crop an image in Figma, you can use the quick crop feature. To do this, follow these steps:
This feature saves you time by allowing you to crop images directly within Figma without the need for external image editing software.

Figma provides various blend modes that you can apply to multiple fill layers. This feature is especially useful when you want to apply effects like black and white filters to your images. Here’s how you can do it:
By layering fills and adjusting blend modes, you can achieve more advanced image effects and maintain flexibility when swapping out images.

Now that you’re familiar with importing and manipulating images in Figma, here are some additional tips and tricks to further enhance your image workflow:
To keep your design files tidy and easily accessible, create a dedicated folder or page in Figma specifically for images. This way, you can easily locate and manage your image assets without cluttering your canvas.
Figma allows you to create and utilize image libraries, which can be a great way to store and access frequently used images across multiple projects. By creating an image library, you can maintain consistency and efficiency in your designs.
If you’re working on a design project and don’t have the final images yet, you can use image placeholder services like Unsplash or Lorem Picsum to insert temporary images into your designs. This allows you to continue designing without being hindered by missing images.
Figma offers powerful image masking capabilities that allow you to create unique and visually appealing effects. Try experimenting with different shapes and masks to create interesting compositions and visual elements in your designs.
To ensure optimal performance, it’s important to optimize the sizes of your images in Figma. Large images can slow down your file and make collaboration more challenging. Resize and compress images before importing them into Figma to keep your file size manageable.
Figma is a powerful collaborative design tool, so make sure to leverage its collaboration features when working with images. You can easily share your design files with team members, leave comments, and collaborate in real-time, streamlining the image review and approval process.
Figma frequently releases updates and new features, so it’s essential to stay informed about the latest developments. Follow Figma’s official blog, subscribe to their newsletters, and join design communities to stay up to date with the latest image-related features and improvements.
Importing and working with images in Figma is a fundamental skill for designers. By utilizing the various import methods, manipulating images with fill settings and blend modes, and applying advanced techniques like image masking, you can create visually stunning designs using Figma. Remember to experiment, stay organized, and stay up to date with Figma’s latest features to make the most of this powerful design tool.