


Collaborating effectively with your design team is crucial for the success of any project. It ensures that everyone is on the same page, promotes creativity, and ultimately leads to better outcomes. In today’s digital age, having the right tools to facilitate collaboration is essential. One such tool that has gained significant popularity among designers is Figma.
In this comprehensive guide, we will explore the easiest way to collaborate with your design team using Figma. From setting up your account to utilizing its powerful features, we will cover everything you need to know to streamline your design workflow.
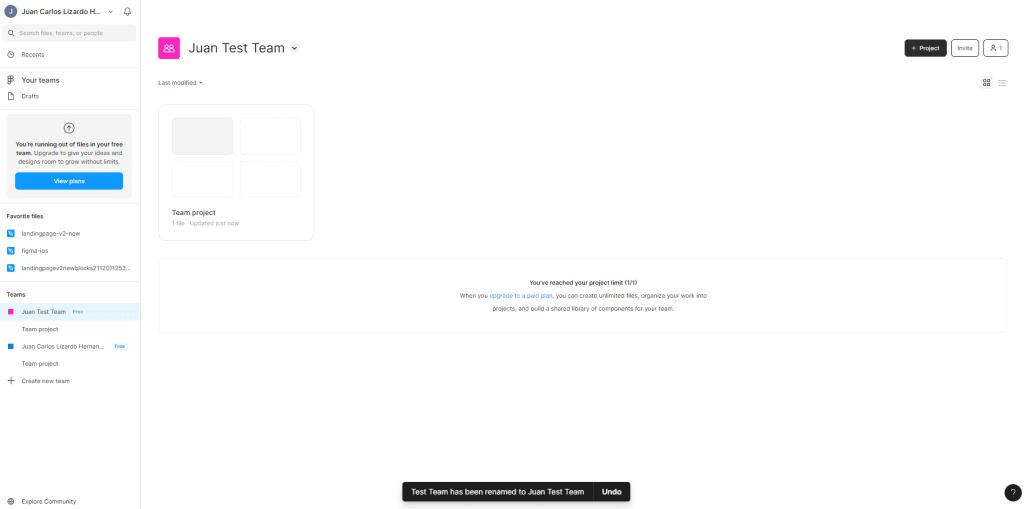
Before we dive into the collaboration features of Figma, let’s quickly go over the process of getting started with the platform. Follow these simple steps to set up your Figma account and create a team:
Step one: Visit the Figma website and sign up for a free account if you don’t already have one. This will give you access to all the essential features of Figma.

Step two: Once you have signed up, navigate to your dashboard and click on “Create New Team.” Here, you can create a team name and integrate Figma with your existing Slack team if you use Slack for communication.

Step three: Choose your team plan. Figma offers different plans, including the free plan, which has limited features. Depending on your team’s needs, select the plan that best suits you.

Step four: After setting up your team, it’s time to create a new project. Click on the “New Project” button on your dashboard and give it a name. This project will serve as the collaborative workspace for your team.
Step five: Invite team members. Collaboration is all about working together, so invite your team members to join your Figma project. You can do this by entering their email addresses or sharing a project link with them.

One of the standout features of Figma is its ability to facilitate real-time simultaneous editing. This means that multiple team members can work on the same design file at the same time. Let’s explore how this works and how you can make the most out of it:
When you invite team members to your Figma project, they can access the design file and make edits in real-time. This allows for seamless collaboration without the need for constant file sharing.

Cursor chat: Figma’s cursor chat feature enables quick and direct communication between team members while working on a design. By right-clicking the artboard and selecting “cursor chat” from the menu, you can type messages that appear next to your cursor, making it easy to ask questions or give feedback without interrupting the workflow.

Version history and checkpoints: Figma automatically versions your design files, making it easy to track changes and revert to previous versions if needed. You can access the version history and add notes to each version, providing valuable context for your design iterations.

Effective communication is the backbone of successful collaboration. Figma offers a range of communication features to help you and your team stay connected and aligned. Let’s explore these features:
✅Comments and feedback: Figma allows you to add comments directly on specific points of your design or larger areas. You can mention team members, attach files or images, and resolve comments once they have been addressed. This fosters clear and organized feedback loops within your team.

✅Live audio chat: For more in-depth discussions, Figma’s live audio chat feature enables real-time voice conversations within the design file. This is particularly useful for co-designing, walking through design decisions, and getting immediate feedback from team members.
✅Observation mode: Figma’s observation mode allows you to see what your collaborators are doing in real-time. You can follow their cursor and see what they are presenting or looking at within the design file. This is a valuable feature for remote presentations or review sessions.
To make the most out of Figma for collaboration, there are some best practices and tips that can help streamline your workflow:
✅Establish clear roles and responsibilities: Before diving into a collaborative project, define the roles and responsibilities of each team member. This ensures that everyone knows their areas of focus and eliminates confusion during the design process.
✅Set up design systems and component libraries: Figma allows you to create design systems and component libraries, which can significantly speed up the design process. By establishing a centralized repository of reusable components, your team can work more efficiently and maintain design consistency.
✅Utilize plugins and integrations: Figma offers a wide range of plugins and integrations that can enhance your collaboration experience. From project management tools like Trello and Asana to design handoff tools like Zeplin and Avocode, integrating these tools with Figma can streamline your workflow and improve productivity.

Establish a feedback process: Clear and effective feedback is crucial for collaboration. Establish a feedback process within your team, including guidelines for giving and receiving feedback. This ensures that feedback is constructive, actionable, and helps drive the design forward.
Collaborating with your design team using Figma can greatly enhance your productivity and the quality of your design outcomes. By following the steps outlined in this guide and leveraging Figma’s collaborative features, you can create a seamless workflow that promotes creativity and efficient collaboration. Remember to communicate effectively, utilize the available tools and features, and establish clear processes to make the most out of Figma’s collaborative capabilities. Happy designing!